THE FEATHER WEATHER METHOD
If you ever spent time with a mermaid, you would learn that a mermaid is never far from her gadgets and gizmos, even if the rest of the world perceives them as odd.
Here's the tools you will need.
Let's gather everything you need
1) SeaPaint - for your base coat color
(apply with the SeaCult brush or other soft brush)
2) A Secret shade- feather weathered (apply with a chip brush)
3) Weathering Sponge- to soften and blend the Secrets for a natural look.
4) Water- to rinse brushes
5) SeaGlass TopCoat (optional)- to protect your painted finish
Now that we have everything we need, let's dive in.
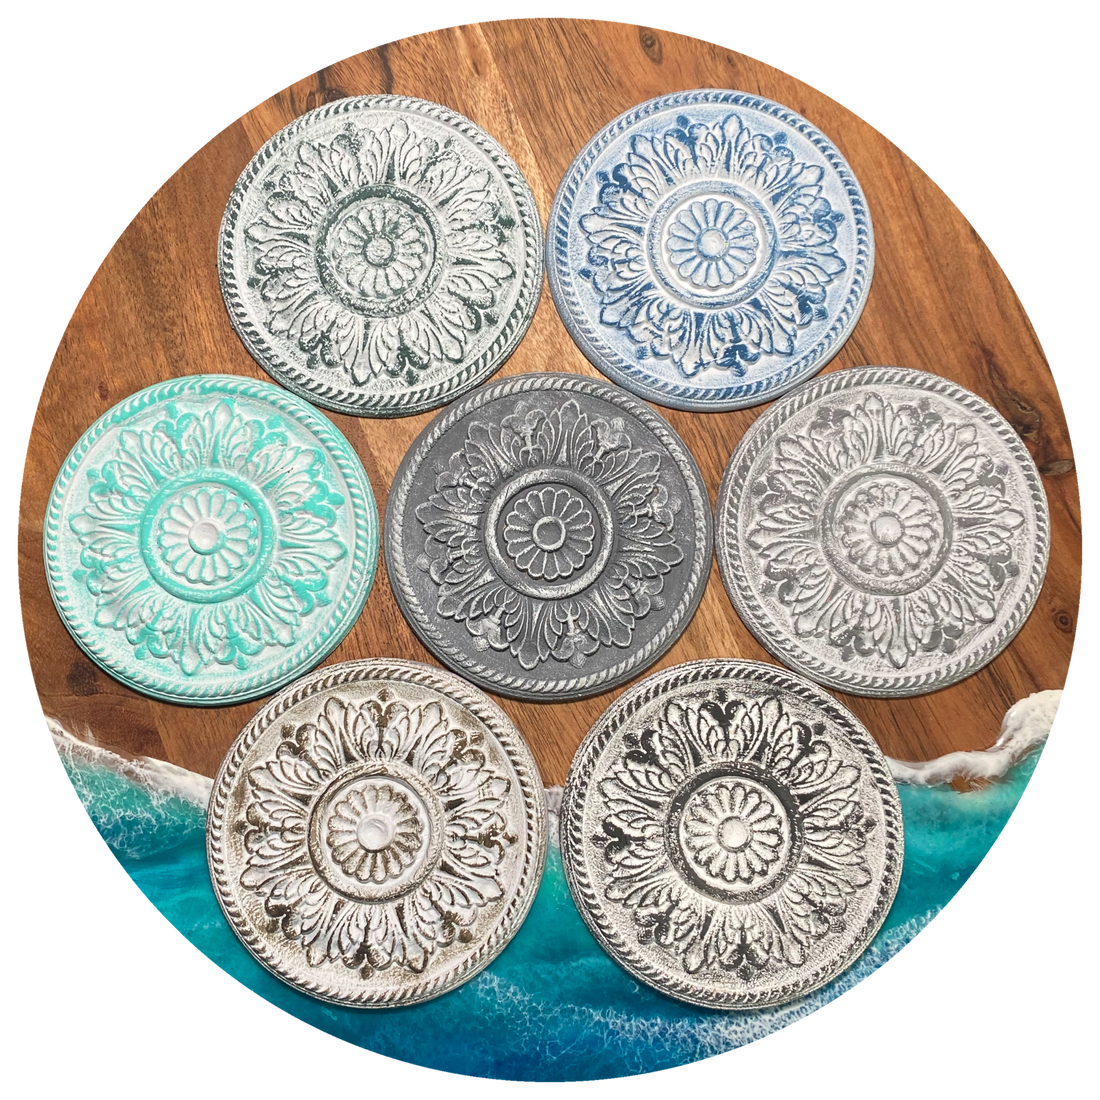
The feather weather can be used to achieve various looks depending on color choices, application pressure, blending pressure, and chosen SeaPaint shades.


While the outcome can be very diverse and appears complex, the application process is easy.

Step 1) Use SeaCult Brush to brush on your SeaPaint. Brush paint on in one direction using long smooth strokes. Start at the edge of your piece and follow brush stroke all the way to end of the piece for the best results.
See Video Below
See Above Video
Step 2) Apply a tiny bit of your Secret shade. Use the bare minimal amount.No seriously. A few drops really will do. Any more than that and you'll have more regrets than any one night stand.

Step 3) Dab as much excess off onto a plate as possible before sweeping the Weathering Brush (at an angle) and very lightly over the painted surface.
(Like in the video)
The technique name stems from the amount of pressure required when performing this method. Light as a feather and it weathers.
If you use bare minimal product and a feathery sweep across any surface with your weathering brush, you can enjoy a weathered finish in 130 seconds or less, including DRYING TIME. Tell me that isn't whoa!
It's incredible. If you need a game changer, an edge on the competition, or you're just a lazy bum like me that hates to do things the hard way, welcome to the SeaCult! We're glad you're here!


7 comments
Can I just say, your way of writing is great… Not only am I sold on trying this line, but also entertained and laughing as I read the instructions! Your writing style reminds me of mine which I never realized until it was mentioned to me a few years ago, oh & I was married in 2013 . 13 has always been a fav number of mine, so I totally dig it! …..Now on to the ordering process….
I seriously need help is there a number I can call I have to redo my livingroom tables and my whole bedroom set. I’ve been trying to figure out what I’ll need with y’alls paint to make sure I can finish my projects but haven’t been able to figure that out and I need a protective coat also I need to know what I need to complete and how much of each. Please if you could let me know as soon as possible! I’m excited to use your product and I’m almost certain I will love it but I have to know where to start, I also have a furniture repurposing business and I’m interested in using sea paint and glaze in that also but need help getting started. For my livingroom tables I want just a distressed white finish with a good protective coat. I have a tv console two end tables and coffee table. How much of each do you think I’ll need to start and finish my livingroom project? Thank you so much!!!! Have a Blessed Day!!!!
Do you have a group on fb? Just found out about this paint. I would like to know more. How to use, prep, cost, and more. Thanks
What type prep is needed when painting furniture?
Hello. Can you please tell me what to buy to get the dark green and blue color with the dark underneath?